
I have recently come around to Sew Over Its patterns. Initially I found them not to my taste, a bit retro, but seeing so many of them made up in blogworld, I changed my mind.
I bought the Ultimate Shift Dress from Fabric Godmother at their last open day and soon knocked up a muslin / toile.
I needed to lower the bust darts (I followed a tutorial by Cashmerette). And then I cut out my dress fabric, a Javanaise viscose from Abakhan fabrics £7per m and sewed it up. I went for the 3/4 length sleeve so it's wearable now. It's such a light fabric that it'll be very nice in the warmer weather too.
I have to say that I'm really happy with the dress. It's very comfy. I wore it with navy leggings and a pink cardigan.
Saturday, 15 April 2017
Ultimate Sewing
Sunday, 26 February 2017
February Half Term Sewing
In the week just gone, I found myself at home alone while my children were back at school.
To keep myself busy I gave myself lots of sewing to do! (I know, hard life!)
Firstly, I finished the Drunk Love 2 Tone quilt. I am so proud of this quilt. It's a LOT of sewing, but I took my time, only picked it up when I could do 3+ hours without stress and decided it would be finished when it was finished.

Firstly, I finished the Drunk Love 2 Tone quilt. I am so proud of this quilt. It's a LOT of sewing, but I took my time, only picked it up when I could do 3+ hours without stress and decided it would be finished when it was finished.

Then, I made a Red Riding Hood cape for World Book Day! We are going as favourite book/ poetry characters. I'm inspired by Roald Dahl's rhyming poem of LRH!


After that, I bought the Mollie Makes Red Nose Day Crafternoon Magazine (say that Drunk!) and made the Sew Over It Molly Breton Top which was in the magazine (and the main reason that I bought it). I realised afterwards it's a similar pattern to the Great British Sewing Bee's Breton top pattern in their last book with new judge Esme on the front!! Anyway I used a flower patterned jersey fabric which I bought c2 years ago. And it turned out really well. I will definitely make a few more if these.


After that, I took out my unfinished Sew Over It Heather dress that I started just after the pattern release and took the side seams in as it was far too wide.
Now the fit is much better. As it's black it's hard to see the details.
Now the fit is much better. As it's black it's hard to see the details.

The last thing that I made was a pair of girls' leggings for my 4 year old niece. She's quite tall for her age so I cut the size 6. I used left over fabric from another project that I did a while ago.

So it has been busy. I've definitely got my sewing mojo back. I have ordered some more fabric from Abakhan Fabric shop. For another Molly, a Colette patterns Hawthorn and a Sew Over It Nancy!!


Tuesday, 21 February 2017
Drunk Love 2 Tone Quilt
So I have not blogged in a very long time. I still read plenty, but studying and starting a new career has zapped a lot of my free time.
However the sewing machine has been out and if you follow me on instagram @craftyclaire74 then you can see what I've been up to. It's sewing and food most of all.
Anyway I've been working on a project since July 2015 which is now finally finished. It is the Drunk Love 2 Tone quilt from Denise Schmidt's book Quilts.
I bought the fabric from Hancocks of Paducah costing $102. I think the exchange rate at that time was pretty good.
Here is some of the journey:

Turquoise back. I stitched in the ditch to quilt it but I love how you see it on the reverse.

Nearly there, you get the idea.

Mitre corner - I still marvel at how this works.


Some of my quilts that I have made. From top: Castle Peeps by Lizzy House, My first ever quilt from Sew Hip Magazine, a quilt made from Amy Butler's Midwest Modern fabric scraps and the bottom one the Denise Schmidt Drunk Love 2 Tone.
More pictures are on my instagram feed, please hop over and take a look.
Tuesday, 16 July 2013
Upholstered Chair - Summer Project #1
Apologies for the lack of before photos but you can see the original fabric below, a thick faded yellow stripe:

This is the back rest cushion, which was just stapled down at the bottom. It's attached to the chair with screws so you cannot see that bit. One less bit to sew!

I did not know what was going on in the inside of the back rest, so it was interesting to remove the fabric cover and see the construction.

The webbing and foam needed replacing, I followed the instructions in a book called House Proud by Danielle Proud, which worked a treat.
My husband helped me stretch and attach the herringbone webbing with upholstery tacks.
I then tacked on a piece of hessian over the webbing. The 1" foam was laid down on top of that and then lightweight batting was stretched down on top of the foam and stapled into place to hold down the foam.


The cover was just pulled down tight over the back rest frame and stapled firmly into place.
I made a box cushion to cover the new 3" foam seat pad, that has a zip fastening at the back
Obligatory gratuitous shots:


I am really proud of our efforts here. My husband still has to sand and varnish the wood, but I've done my side of the bargain. I bought all the webbing and upholstery supplies from ebay shops, and the foam locally. Now that I know we have sorted out the structure, I wouldn't be worried about changing the fabric again. Any questions, please ask.
Wednesday, 26 June 2013
Hello, it wasn't meant to be this long
It may have appeared that i have fallen off the planet, but I've just been busy studying, working and raising a family. In the summer break I have lined up a load of projects to tackle.

The Hawthorn dress by Colette Patterns has queue jumped all the way to the top. I am going to tackle version 3 (sleeveless shirt dress) in this bird print fabric which I found of ebay here.

It is described as a cotton lawn, I am waiting for it to arrive. To make it even more exciting there is a sew along on the Coletterie blog. I will definitely be following that step by step. Here's the schedule:
- June 26 – Buying fabric and making your muslin
- July 1 – Full and Small bust adjustments
- July 3 – Wide or narrow shoulder adjustments
- July 5 – Fitting the cuffs (a quick and easy adjustment)
- July 8 – Interfacing, Staystitching, Darts, and Shoulders
- July 10 – Collar, Facings, and Side Seams
- July 12 – Attaching the skirt or peplum
- July 15 – Version 1, short sleeve
- July 17 – Version 2, 3/4 length sleeve
- July 19 – Version 3, Armhole
- July 22 – Buttons, Hem, and Finishing
- July 29 – Hawthorn Parade: Vote for your favorites!
Looks like I need to make by muslin ASAP! I will only do that for the top as it's a wide skirt.
Will you be joining in?
I also have to make up a cushion cover for a chair which has been waiting patiently for 3 years!
Wednesday, 25 July 2012
Jewellery Holder Tutorial
I have been looking for a jewellery frame holder for a while, to hang my necklaces from, to stop them tangling up. I found an example of one that was ok from Cox & Cox for £35. I didn't really want to spend that on something that I wasn't that keen on aesthetically!
So an idea of how I could make one started to come together in my mind. Yesterday I was out and about and saw a cheap corkboard, and I was off!
Supplies:

60cm x 40cm Corkboard £4.99 from Burts Homestores,
Staple Gun £4.99 from Robert Dyas
Hooks £3.00 from Robert Dyas
Wadding from stash
Fabric from stash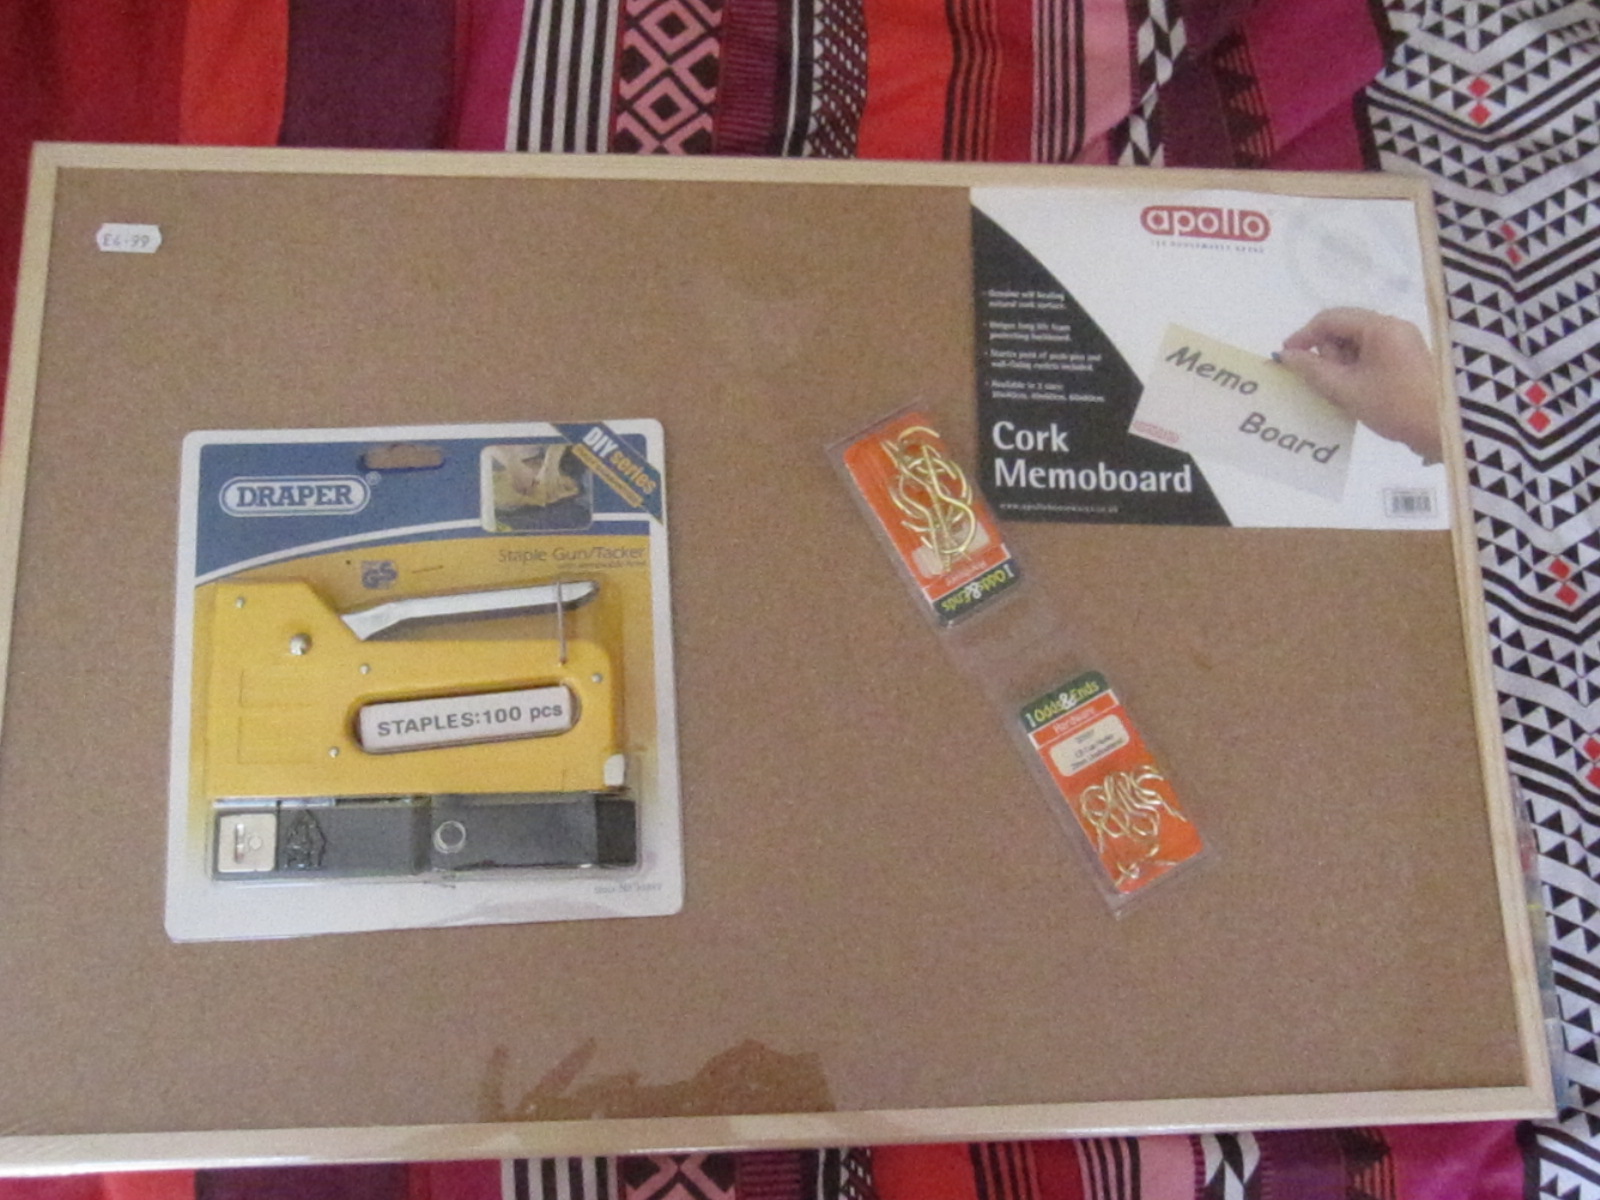

Cut the wadding a few inches larger on each side of the notice board and firmly staple in place.Pull tight, try not to stretch.

Then attach the fabric (get the right way up) and staple into place firmly all the way around. Again pull tight, don't over stretch. If I was doing it again I'd tuck the edges under before stapling.

Close up of staples - see how many I put in.

Front view

Hooks put in (they just screwed in)

Necklaces attached, tangle free, looking alluring!.
I hope you enjoyed my tutorial. It was really quick to make, under an hour. I am very happy with how it has turned out. Please let me know if you do one too.
Tuesday, 24 July 2012
2012 Thank You Totes
I have been making these totes as thank you presents for three years now for my children's class teachers. This year I went with the following measurements:
Front:
w: 49cm x h:22cm for the top rectangle.
w: cm x h: 30cm for the two outer bottom rectangles
w:13cm x h: 30cm for the bottom middle rectangle
Back was w:49cm x h:52cm
1.5cm seams throughout
You can see the front on the picture below:

I also made some inside pockets. One was a flat one and the other was a stand out one, I used directions from Lisa Lam's "Bag Making Bible" book. They were all fully lined.

I went with three colour ways (the teacher's favourite colours) and my children embroidered the hearts.


I hope you like them as much as the teacher's did. I think these make a great present, and tend to be much appreciated by the receiver.
Subscribe to:
Posts (Atom)


