Just one more job; to thank all of you for stopping by and reading this blog.
Have a very merry and prosperous Xmas and New Year.
See you in 2011.
Claire xox
Just one more job; to thank all of you for stopping by and reading this blog.
Have a very merry and prosperous Xmas and New Year.
See you in 2011.
Claire xox
Posted by
craftyclaire
at
15:03
0
comments
![]()
Labels: celebrations
This is a Herbst Urchin Bowl made from a pattern bought on etsy (it was a downloadable PDF). I bought the 5mm 100% wool felt from Blooming Felt.
It came together quickly. I want to improve the seams so I will do a larger seam allowance on the next one. This is a 9" bowl there is also an 8" size as well.
This makes for a very quick make. Two bowls sitting inside each other looks good too.
Posted by
craftyclaire
at
07:51
0
comments
![]()
Labels: sewing
It is very quick and easy, and apart from soaking your dried fruit for a while in tea, it comes together very quickly.
The recipe is as follows:
350g mixed dried fruit (I used 200g sultanas, 100g raisins, 50g currants)
350ml tea
Cover the fruit with the tea and leave overnight (or a few hours depending how desperate you are)
Mix with:
2 beaten eggs
200g dark brown soft sugar
270g self raising flour
1teaspoon of cinnamon
Put into a lined loaf tin, and bake at 170deg C or fan 160 deg C or gas mark 3 for 1.5 hours. I checked mine at 1 hours fifteen minutes and it was ready, so out it came. Cool on a wire rack and eat as soon as you want to (preferably with a nice cup of tea). Sainsburys suggest you spread margarine on it, I leave that up to you!
I have also been having a go at Attic24's crochet star decorations. Hooky fantasticnous! One wonky point but I got there in the end!
Have a lovely weekend. BTW My son is a bit better today.
Posted by
craftyclaire
at
08:17
0
comments
![]()
Labels: bake and do, crochet
Posted by
craftyclaire
at
10:32
0
comments
![]()

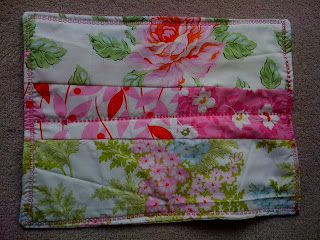
This is the back.
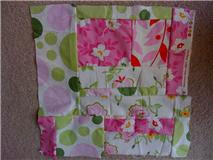
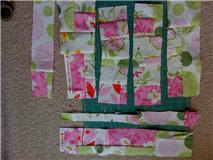
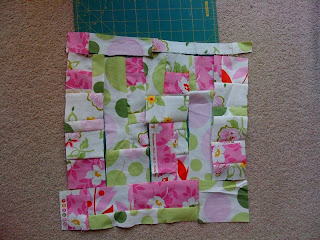 Then sew back together:
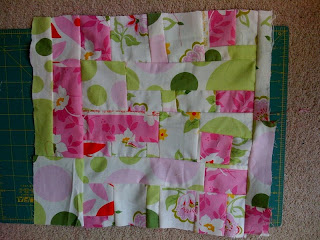 Now you have an even more intricate patchwork piece.
Posted by
craftyclaire
at
02:29
0
comments
![]()
Labels: make and do, sewing
Posted by
craftyclaire
at
04:08
1 comments
![]()
Labels: crafts, shopping, things I like

Once that is large enough. I trimmed it down to a rectangular shape. I them cut out a piece of cheap gingham fabric, I had, to the same size.
sewing batting together
Now for the clever bit, I have sewed together left over batting, from quilts I have already made, again to the same measurements. The way I did this, was to butt them up against each other and join using a zigzag stitch. That means it's a flat seam.
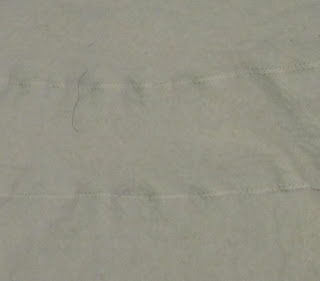
batting all sewn together
I'm not going to bind this, so I am laying the batting down then I lay the two rectangles of fabric right sides together.


Batting, fabric 1, Fabric 2 (rst)
I stitched all the way around, leaving a gap of between 5-8 cms. Turn inside out. Poke out corners. Now whip stitch gap together.

Feel free to quilt the blanket if you like. Make it as simple or as decorative as you desire. Time is probably an influencing factor here. It measures approx 19" x 15".

Posted by
craftyclaire
at
00:59
1 comments
![]()
Labels: children, make and do, sewing, tutorial
I am going to try and show you the things I am making for friends and family.
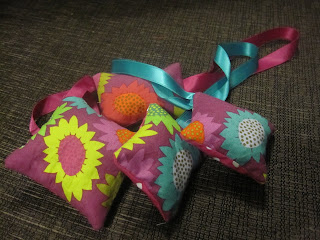
My first set of gifts are some quick and easy lavender bags.
I am using up small pieces of fabric, that I probably won't be needing for anything else. You could piece them together, if you have more time, but I'm just using 2 coordinating fabrics for the front and back. I'm just cutting them into squares and rectangles. I am attaching ribbon, so they can be hung on hangers to scent clothes, and keep those moths at bay. You could omit the ribbon, and have them to be put on shelves and in drawers. I am making some for my husband as he had some suspicious holes in one of his jumpers. But we haven't seen any moths, but better to be safe than sorry.
I bought the dried lavender from a shop on Ebay, specialising in organic french lavender, a few years ago. Believe it or not, it still smells pretty strong. It did not cost too much either.
The tricky bit is inserting the ribbon.
As you can see you make a sandwich, with the fabric right sides together and the ribbon in the middle. You only want to sew the ribbon down on one side, so tuck it in as you sew round.
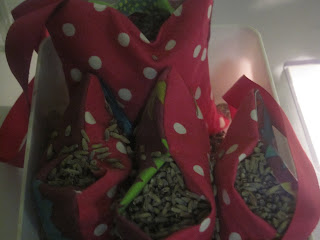
Sew around the edge with a 0.5cm seam (or whatever seam width you like). Do leave a gap, so you can turn your bag inside out and fill with lavender.
 Bags ready to fill
Posted by
craftyclaire
at
00:47
3
comments
![]()
Labels: make and do, tutorial